Tuesday, November 22, 2011

Blackened Chicken Pasta


On the off chance that you don’t have enough decadence planned for your Thanksgiving festivities, I recommend indulging in this delicious Cajun pasta.  I actually made this a few weeks ago.  Usually, my intrinsic motivation can tolerate about a one-week delay between cooking and writing.  I rarely retrieve the necessary motivation to write outside of that timeline, but this pasta defied my usual patterns.  I had to share it; it was that good.

Those clowns at the Food Network have come up with yet another enticing gimmick: a show called The Best Thing I Ever Made.  A smattering of “Food Network Stars” use their licentious foodie language and provide recipes for delectable items like lamb kebabs, mushroom polenta and… blackened chicken pasta.  It’s a Guy Fieri recipe: blacked chicken, tossed with fettuccine and a cream sauce, flavored with white wine, garlic, and sundried tomatoes.  Guy Fieri is a goof, but charming in his own dorky way.  His pasta is as lush and tasty as you might imagine creamy pasta to be.  I added some tomato puree to the sauce for some acidity and color, and I would definitely recommend that addition (included in my version of the recipe below).  I used canned tomato sauce (which is really just tomato puree with some spices).  The quantities specified below are approximations, but do what looks and tastes right to you.
 
The best part of this recipe is the spice rub.  Not only is it delicious, but it is so much fun to make.  I don’t understand why I found its assembly so enjoyable, but I grinned like a fool throughout.  The process is simple: measure and dump spices in a bowl, enjoying the aromas and colors along the way.  Then chicken breasts are coated with the rub, and placed them in a very hot pan.  The smell of the spice rub searing on the chicken is intoxicating.  I think the primary culprits contributing to the smell are the cumin and the Italian herb blend, but I’m sure every ingredient plays its part.  The spice rub did not render the dish particularly spicy.  This may be exactly what you want to hear, or you may want to add an extra teaspoon of cayenne, if the news of the mildness is disappointing. Or, you can do what I did: season the whole pasta dish at the end with hot pepper flakes.  Either way, finish it with plenty of Parmesan cheese and enjoy.
 
Blackening Spice
1 tablespoon granulated garlic
1 tablespoon freshly cracked black pepper
½ tablespoon salt
2 teaspoons ground cumin
2 teaspoons granulated onion
1 teaspoon cayenne pepper
1 teaspoon Italian seasoning
1 teaspoon paprika
½ teaspoon chili powder
Combine the garlic, black pepper, salt cumin, onion, cayenne pepper, Italian seasoning, paprika and chili powder in a small bowl. Store in an airtight container.

Blackened Chicken Pasta (recipe adapted from Guy Fieri)

2 skinless chicken breasts (½ to ¾ pounds)
Blackening Spice Rub
1 tablespoon vegetable or canola oil
1 tablespoon olive oil
1 clove minced garlic
½ cup dry white wine
1 cup heavy cream
1 ½ cups canned tomato sauce
½-¾ cup roughly chopped marinated sun-dried tomatoes
½ pound fettuccine
¾ cup grated Parmesan
Kosher salt and freshly ground black pepper
Hot pepper flakes (optional)
2 tablespoons minced flat leaf parsley

Preheat the oven to 350 degrees F. Bring a large pot of salted water to a boil. Heat a medium skillet and vegetable oil over high heat.

Dredge the chicken breasts in the Blackening Spice Rub. Place in the skillet. Blacken both sides of the chicken, 3-4 minutes per side.
Transfer the chicken to a baking dish and place in the oven until the internal temperature of the chicken reaches 165 degrees F on an instant-read thermometer, about 10-15 minutes.
 
Remove from the oven, allow to rest, then slice the chicken.

In a large skillet over medium heat, heat the olive oil. Add the garlic and lightly sauté it for 1-2 minutes. Stir in the wine. Allow it to reduce by half.  Pour in the heavy cream and tomato sauce, bring to a simmer and cook until for about 5-10 minutes, simmering gently. Add the sun-dried tomatoes and chicken slices.
Meanwhile, cook the fettuccine al dente, according to the package directions. Drain.

When the cream sauce is at the desired consistency, stir in 1/2 cup of the Parmesan, pasta, and about ¾ of the parsley.  Season to taste with salt and pepper (and hot pepper flakes, if using).
To serve, toss the pasta with the cream sauce.  Garnish with the parsley and the remaining ¼ cup Parmesan.

Saturday, November 12, 2011

Pasta With Chicken and Mushrooms, Risotto Style


When I’m cooking and blogging, I try to maintain a semblance of balance in my choices.  Ideally, I would avoid my recipe archives being so heavily laden with tales of cheese and carbohydrates.  However, this notion of blog-balance is an art I am yet to master.  There are certain ingredients that are undeniably “psycho,” and this post reeks of them.  This pasta is flavored with onions, mushrooms, and chicken.  It is prepared like risotto: by adding small increments of chicken stock to the simmering pot until the pasta is cooked through.  Everything cooks together in chicken stock.  Unlike traditional pasta cooking methods, the liquid is never strained.  Instead, it is added gradually, so all the flavors in the ingredients are self-contained. If you are not a fan of mushrooms, I would recommend you stop reading here and go make yourself a nice grilled cheese sandwich.  The mushrooms are the crux of this dish, and nothing else will do in their place.

The recipe below is courtesy of Mark Bittman and I made minimal changes.  (He is smart, although allegedly obnoxious.  I have never seen him do anything on TV, and I would like to keep it that way, so I can remain blissfully ignorant of any truth in the obnoxious allegations).  To be honest, I was a little trepidatious about the method of cooking the chicken: raw chunks of chicken are added towards the end of the cooking process.  I’m sure my mother is gasping in horror at the slightest notion of cross-contamination.  However, I followed the method and I have lived to tell the tale with no gastrointestinal distress.  Just keep stirring the pasta so that the chicken can cook evenly and thoroughly.  Make sure the liquid continues to simmer, and add more stock if you need it.  Also, wash your cooking utensil halfway through, and make sure to slice open a few chunks of chicken before eating to check for doneness.  You will be just fine.

The recipe below includes the minor changes I made in italics.  Next time, I would definitely add peas.  This recipe was practically screaming for peas.  The earthy flavor and texture of mushrooms would pair just beautifully with the sweet pop of peas.  I would recommend taking about a half cup out of the freezer before cooking to thaw, and adding them at the end, stirring to heat through.

Pasta With Chicken and Mushrooms, Risotto Style (adapted from Mark Bittman)

2 tablespoons olive oil, more as needed
1 small onion, chopped
1 tablespoon minced garlic
2 cups crimini, shiitake or button mushrooms, cleaned, trimmed and sliced (I used half button mushrooms and half oyster)
1/2 pound cut pasta, such as gemelli or penne, or long pasta broken into bits (I used rotini, but would have gone for gemelli if I could find it)
Salt and freshly ground black pepper
1/2 cup dry white wine or water (I left this out)
3 to 4 cups chicken or vegetable stock (definitely use chicken stock)
½ to 1 tablespoon Dijon or whole grain mustard (optional.  It was an impulsive, but delicious addition)
2 boneless chicken thighs, diced
Chopped fresh parsley
Freshly grated Parmesan

1. Put 2 tablespoons olive oil in a large, deep skillet over medium heat. When hot, add shallot, garlic and mushrooms. Cook, stirring occasionally, until mushrooms soften and begin to brown on edges, about 10 minutes. Add pasta and cook, stirring occasionally, until it is glossy and coated with oil, 2 to 3 minutes. Add a little salt and pepper, then wine. Stir and let liquid bubble away. (Or skip the wine and go right step two)
2. Ladle stock into skillet 1/2 cup or so at a time, stirring after each addition and every minute or so. (I poured stock directly out the box it came in into the pan).  When liquid is just about evaporated, add more. Mixture should be neither soupy nor dry. Keep heat at medium and stir frequently.
uncooked chicken (gasp)
cooked chicken (yum)
3. Begin tasting pasta 10 minutes after you add it; you want it to be tender but with a tiny bit of crunch. When pasta is about 3 to 4 minutes away from being done, add chicken and stir to combine. (If you are going to use the mustard, add it before the chicken).  Continue to cook until chicken is done — it will be white on inside when cut — and pasta is how you like it.  (I cooked the chicken for about 5-7 minutes) Taste, adjust seasoning, garnish with parsley and Parmesan.

Yield: 4 servings.

Monday, November 7, 2011

Simple Mushroom Pasta

If you read my last post, it may not be surprising that I am in the process of achieving a higher degree of balance in my life.  Over the past few months, I have been wobbling.  So much of my energy has been expelled outward, away from me, and I am now trying to redirect some of that energy back towards myself.  Both my professional and personal life just went through a swift, yet dramatic restructuring, and I am interpreting this is a sign to get back to my roots, and the things that make me tick. 

This weekend, I jumpstarted my personal resuscitation by cutting off all my hair and spending time with friends.  I then slept for about 14 hours (I guess I needed it).  When I emerged from my quasi-coma on Sunday morning, I jumped on my bike, went to a yoga class, read a book in the sunshine, and cleaned my apartment.  I spent hours outside, and I hadn't done that in months.  It turns out that riding bikes on a cool, fall day might even be more fun than on a summer day.  You get to put on your awesome bike gloves, and a hat, and zip around in the breezy sunshine.  I highly recommend it.

I also recommend this mushroom pasta.  It's a quick and easy dinner that seems like so much more once it's on a plate.  It's basically a makeover of jarred marinara sauce; a few fresh ingredients can truly transform store-bought tomato sauce.  While it's easy enough to make tomato sauce from scratch, this can be done in less than a half an hour from start to finish.  I used Barilla marinara sauce (I love all things Barilla.  Their pasta is totally worth the extra money, and the sauce goes on sale a lot).

First, I put a pot of water onto boil, and added 6 (maybe 8?) sliced mushrooms to a tablespoon of olive oil in a really hot pan.  I used button mushrooms, plain and simple.  Let the mushrooms sit and sizzle for a couple of  minutes before stirring.  The mushrooms will sear, and they will start to smell like some sort of delicious meat, but earthy.  Delicious, I promise. (the quantities in this recipe make 2 good sized bowls of pasta and can easily be adjusted).  
Stir occasionally, until the mushrooms reduce in volume and begin to brown.
Push the mushrooms to the side.  Add 2 chopped Roma tomatoes, a clove of minced garlic, a big pinch of dried rosemary, hot pepper flakes, ground pepper, and kosher salt (to taste).  Also, add linguine (1/4 to a 1/3 of a box) to the boiling water. (If you are not sure on timing, remember it's always better for the sauce to wait for the pasta than the other way around.  Sauce can simmer or be turned off, while pasta just gets mushy).
Stir to combine and cook for a few minutes until the tomatoes begin to break down.  If the pan is looking very dry, add a tablespoon or so of water from the pasta pot.  Not only will it save your mushrooms from burning, but it will make a delightful sizzling sound. 
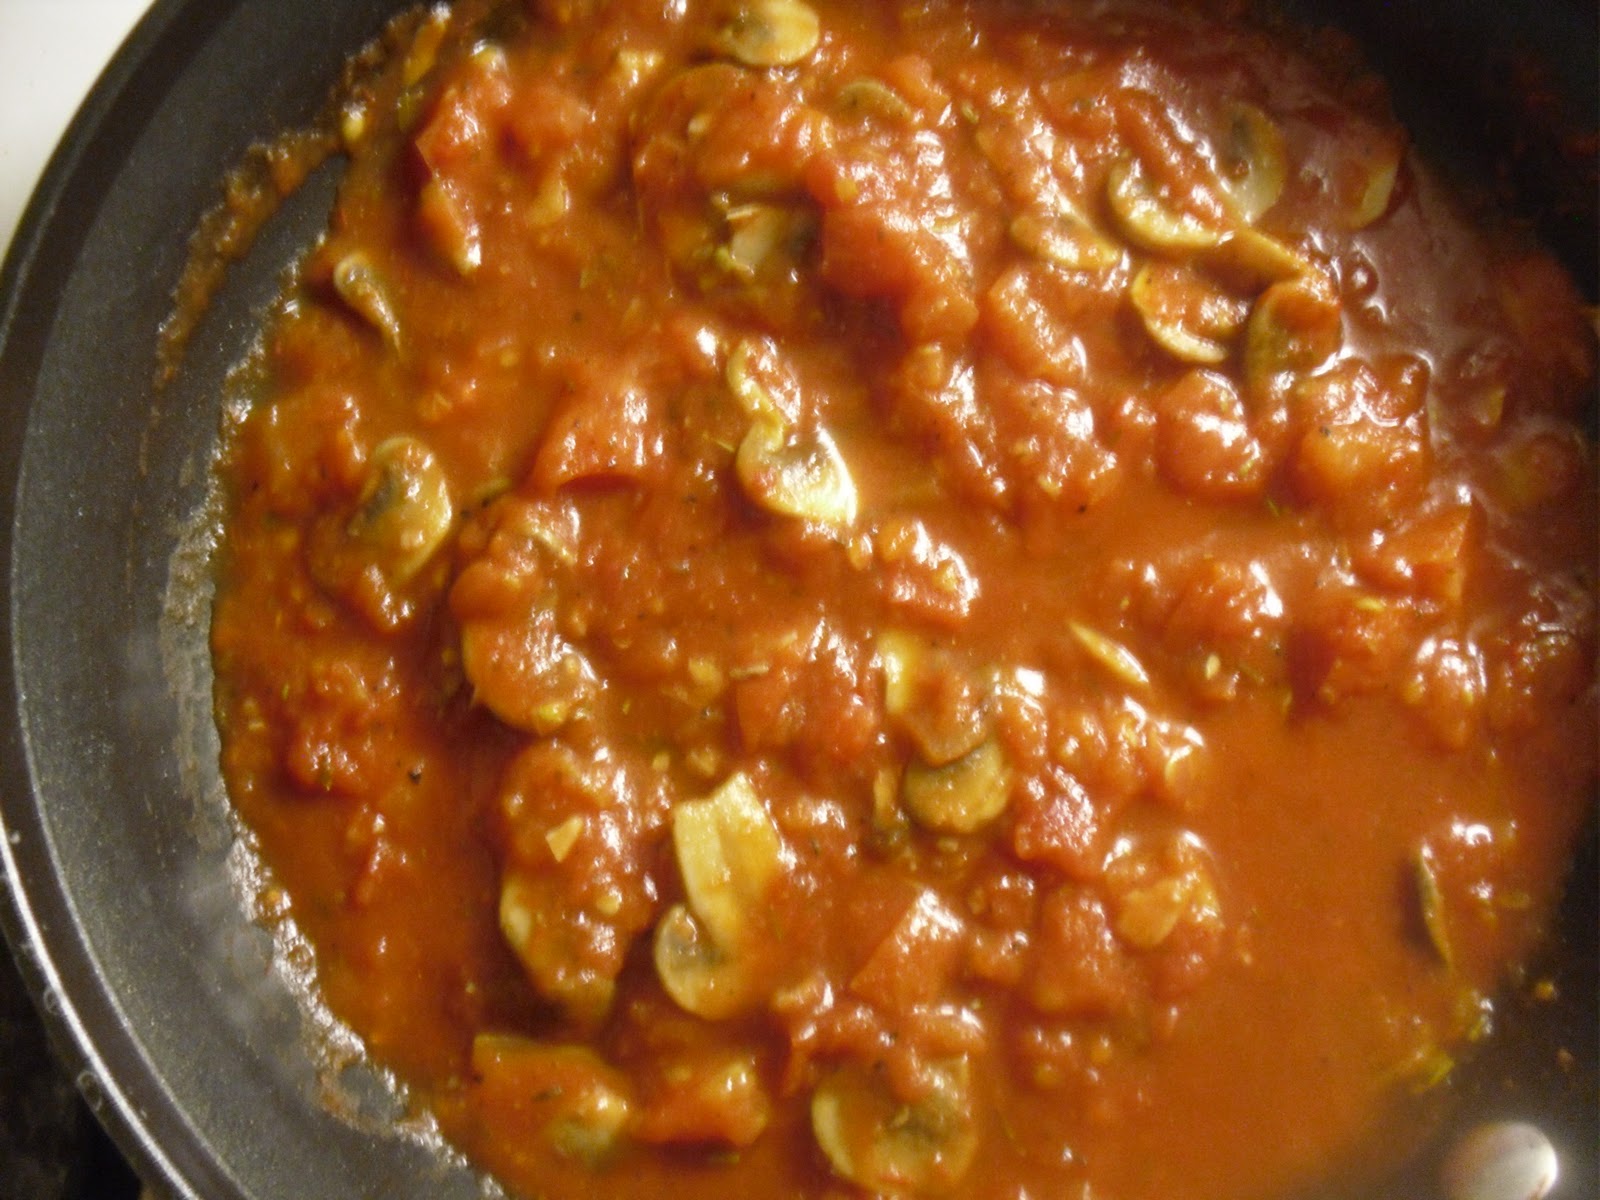
Add about a cup and a half of marinara.  Stir to combine.
Allow sauce to simmer while pasta cooks.  Enjoy the delicious the garlicky, mushroomy smells.
When the pasta is ready, add it directly to the sauce with tongs.  Let some of the pasta cooking water meander into the pan of sauce.  Stir to combine, check for seasoning, and put a big portion on a plate.
Add some olive oil, black pepper, and parmesan.  (Coloradans, Sunflower has amazing shaved parm at a great price).  Enjoy!

Sunday, October 30, 2011

Roasted Broccoli

Oh, hello there, blog.  Remember me?  I’ve been a little swamped lately with my new job.  It’s a lame excuse, but it is sadly a presiding truth in my life.  I work in the public schools, and the rumors are true:  education is in trouble.  I truly love working with my kids, but the politics, the paperwork, and the special ed laws are weighing me down.  Sigh. 
Now that I’ve had my pity party, I will share you with a little ray of light I discovered today.  This morning I realized that maybe I’m feeling weighed down because I have stopped doing a lot of the things that make me happy.  Riding my bike, reading, cooking, being outside, blogging, yoga.  I haven’t done any of those things in a long time.  So today, I pumped some air my tires both literally and figuratively, and got on my bike.  It felt amazing, even better than I remembered.  And tonight, I roasted some broccoli, and enjoyed every part of the process.  And now I am whipping out a blog post, which is perhaps not my most eloquent, but at this point, a shoddy post is better than no post at all.
Now about that broccoli… my aunt told my about roasting broccoli years ago, and it didn’t sound particularly good.  Things get brown and crispy in the oven, and “browned” broccoli didn’t appeal to me.  It made me think of that withered head of broccoli you see, when there are only a couple crowns left at 7:30 at night.  Also broccoli can have such a strong flavor, and I didn’t want to intensify that flavor in the oven.  It turns out I couldn’t have been more wrong.  The roasted broccoli actually mellowed out in the oven, and was perfectly complimented by my favorite flavors, lemon and garlic.   The stalks developed the most delightful texture: tender, but not the least bit mushy.  I cut the broccoli into long, thing spears so there was extra stalk.  Some of the little green buds became crispy, and it was so flavorful.  This recipe was quick, simple, and made my apartment smell like pungent, sweet garlic.  Yum.  The recipe below doesn’t call for much garlic, but fear not, it still packs plenty of garlic punch.

Roasted Broccoli (based on Ina Garten’s recipe)

Preheat the oven to 425
Chop 1 large crown (or as much as you like) of broccoli in long, thin spears.
Transfer to a large foil lined baking dish.  Top with the zest of half a lemon, half a clove of grated garlic, a drizzle of olive oil, a large pinch of salt, and lots of freshly ground pepper.
Toss the mixture together with your hands.  Spread out broccoli in an even layer.
Roast in the oven for about 25 minutes.
When the broccoli comes out of the oven, give it a spritz of fresh lemon, and grate some asiago cheese over the top (parmesan would also be good, but asiago is the new parm).  

Tuesday, August 2, 2011

Zucchini Pasta

This summer, I attempted a little gardening, and I learned that I do not have a green thumb.  The truth is… I killed a cactus.  I bought the most darling hen and chicks cactus to live on my patio.  There were two plants, nestled together in a pitcher.  I named the big one Melanie, and the little one Melvin (Mellie and Mel for short).  Last week, I discovered that Melanie was all shriveled up and brown.  I made a fruitless attempt to save her by removing some of the brown leaves, and she became dislodged from the soil.  Below, you can see lonely little Melvin and the sad spot where Melanie used to reside.  I also have two leggy basil plants, named Rufus and Alberta, who have had multiple near death experiences due to highly inconsistent (and irresponsible) watering practices.
Luckily, people exist in the world that are able to maintain an actual garden, unlike me, the cactus killer.  I am grateful to these people because they give me hope that my gardening skills may turn around one day, and I am especially grateful when capable gardeners share their loot with me.  Some garden-fresh zucchini were recently placed in my custody, and they were so delicious.  I love zucchini, and to have some home grown ones bestowed upon me was such a treat.  They were small and tender, unlike some of those big, seedy ones you sometimes find in the market. 
Such perfect specimens deserved a simple preparation that would highlight the zucchini itself.  I chose to sauté the zucchini with garlic and olive oil, and toss this concoction with pasta, fresh herbs, and cheese.  It was delicious, and it can be prepared in the amount of time it takes to cook the pasta. 
While the water came to a boil, I chopped up the zucchini, garlic, and herbs, and once the pasta was in the water, I began sautéing.  For one generous portion, I used one zucchini, one clove of garlic, about ¼ of a box of pasta, and a few tablespoons of herbs.  I sautéed the zucchini for about 5-7 minutes, so it softened, but it was still crisp in the middle.  I also added a few tablespoons of white wine at the end to stop the garlic from getting too brown (and because I happened to have it in the fridge). 
When the pasta was done, I put it directly in the pan with the zucchini, and added the chopped herbs.  I had the perfect storm of leftover herbs for this dish: basil, parsley, and dill.  It was a fresh and delightful combination, but any one of those herbs would have done the trick.  And then of course, I added (a lot) of Parmesan cheese, and a little Asiago.  These ideas are merely guidelines (I intend to make it again tonight with thyme and basil from my dilapidated herb garden).  The method is less important than the fact that the fresh zucchini was such a treat.  I could have eaten the zucchini straight from the pan and called it dinner.