Monday, December 19, 2011

Thai Chicken Soup


I am on my first-ever paid winter break.  If you are feeling blood rush to your face in a fit of jealousy, take comfort in the fact that I am being punished for my brazen bragging with a terrible head cold.  Luckily, I have the time to take care of myself with good food, sleep, and daylong movie marathons.  Where I come from, chicken noodle soup is commonly known as “Jewish penicillin.”  The garlicky dish is said to have an anti-inflammatory effect.  In my case, I may require a course of actual penicillin, but I figure some chicken soup couldn’t hurt me.  The congestion has completely muted my sense of taste, so I decided to make it “Thai-style” to make it as flavorful as possible, and hoping that large quantities of ginger, chiles, and hot sauce would also provide some added health benefits.

Disclaimer: I doubt this soup can be considered authentic Thai food.  For one thing, I added about a cup of dry Italian white wine to the broth; I don’t think that is a common practice in Thai cooking.  I just happened to have it in the fridge, so it went in the pot.  I also happen to think fortifying soup with wine adds great flavor, but it is most definitely unauthentic and optional.  Nonetheless, I feel slightly justified in calling my soup “Thai” because I included the four tastes that give Thai food its distinctive flavor and balance: spicy (ginger and chiles), salty (fish sauce), sweet (sugar), and sour (fresh lime juice). 

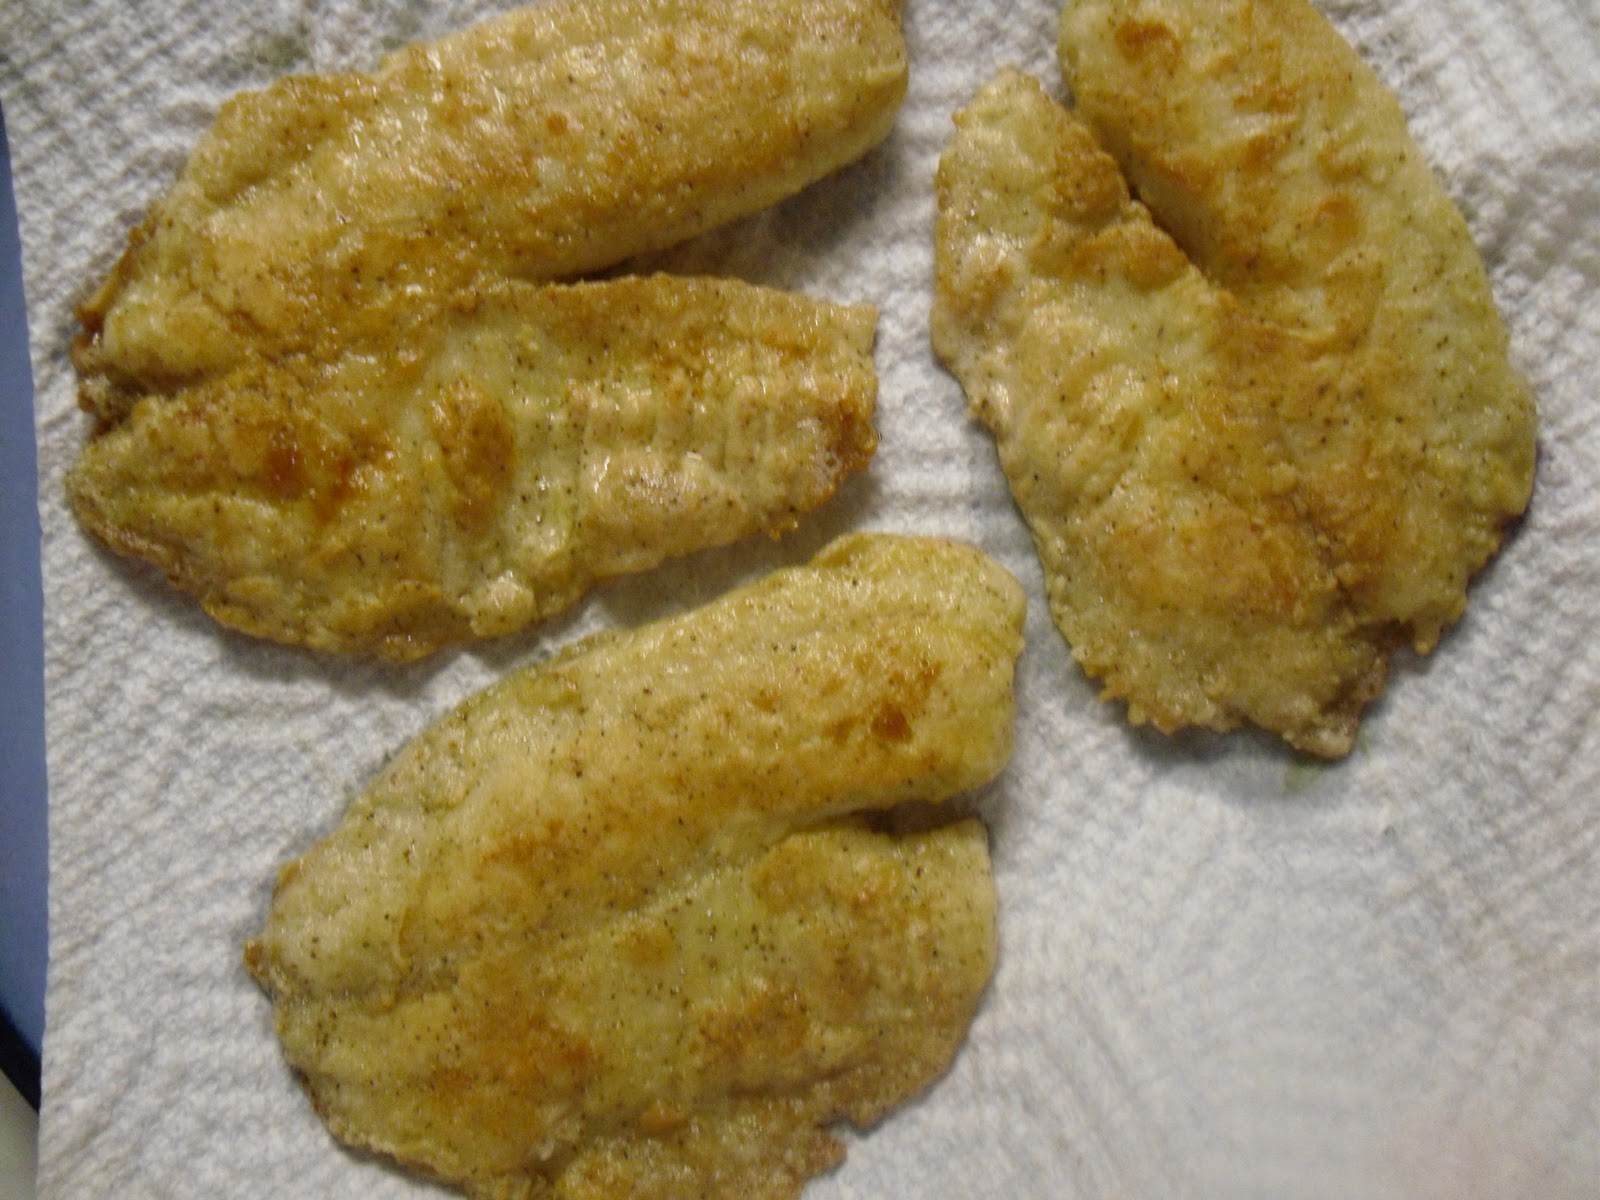
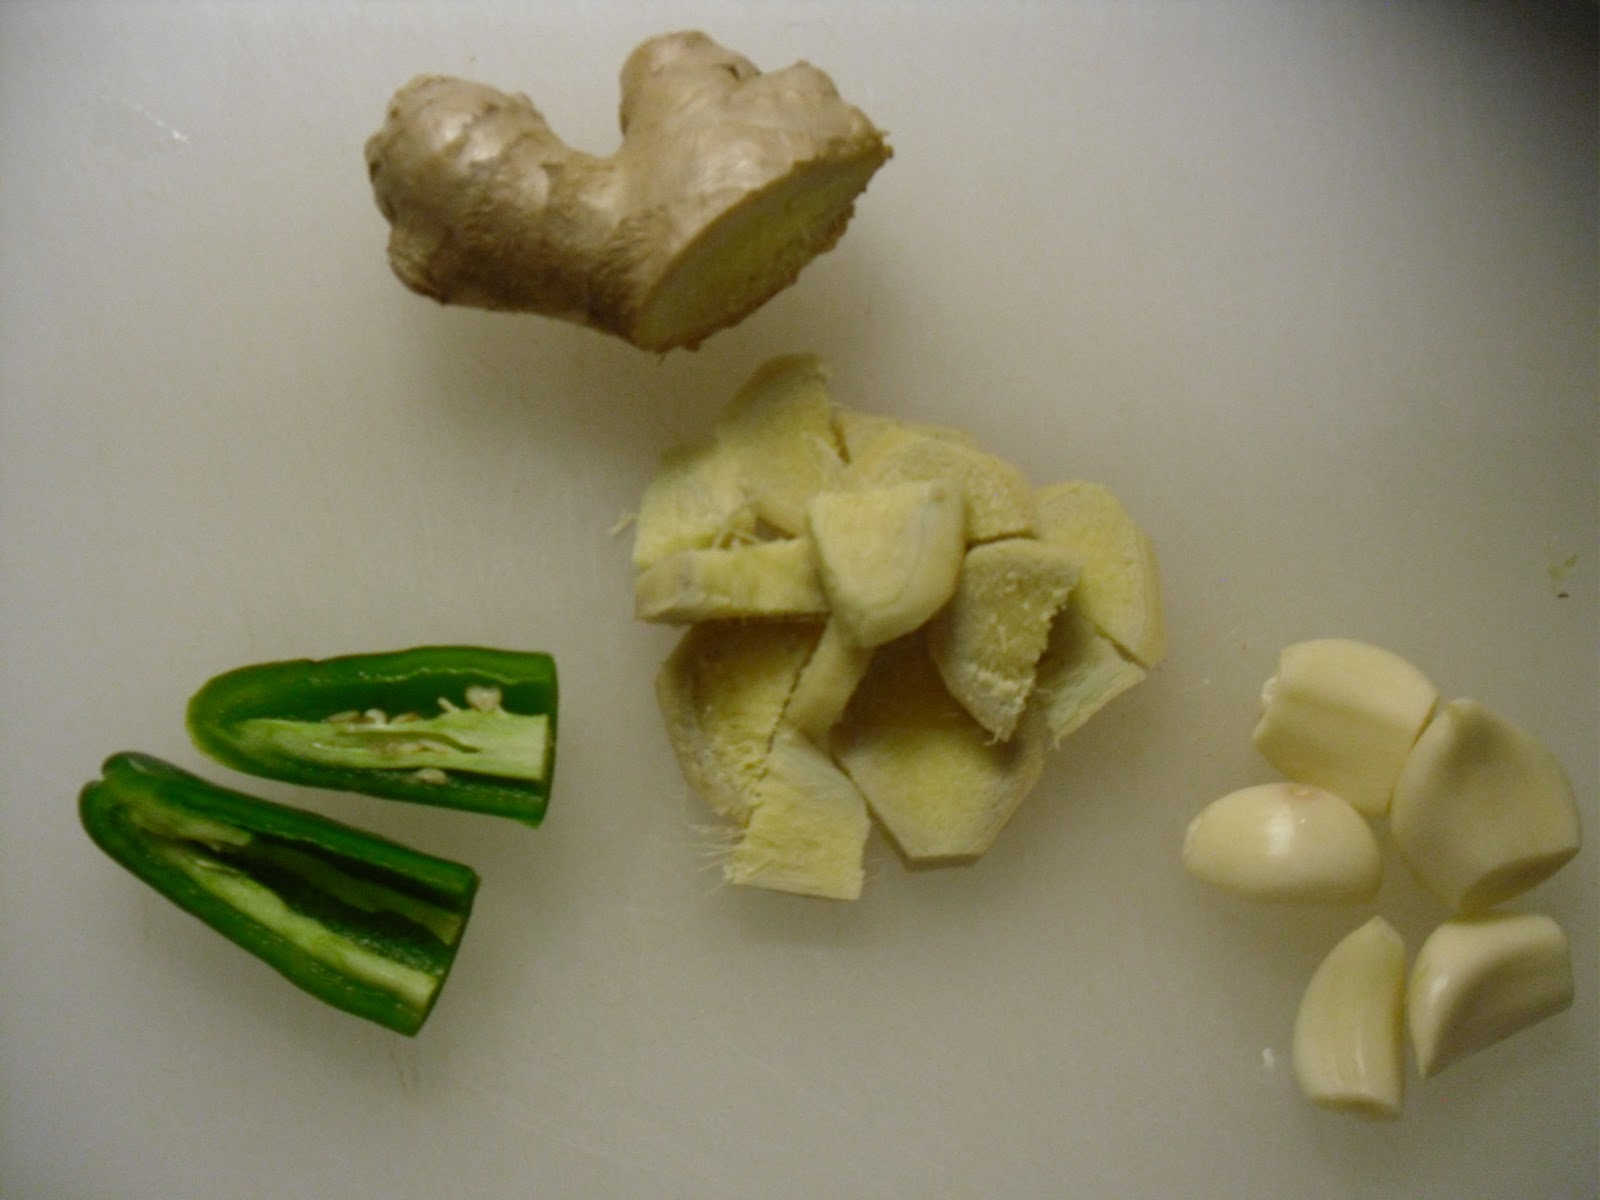
To make this soup, I steeped canned chicken broth with garlic cloves, ginger, jalapeno, and fish sauce, while gently poaching chicken breasts in the simmering liquid.  You may want to eat around the garlic, etc. in the final product, or you may enjoy gnawing on a bit of ginger or garlic (maybe that’s just me).  I was a little disappointed by the spiciness that resulted from this process (or lack thereof), but a healthy dose of Sriracha quickly amended that problem.  I then removed the chicken to slice it up, and added carrots and scallions.  When the carrots were cooked through, I ladled the broth over rice noodles and chicken, and finished the bowl with limejuice and fresh cilantro. 

The soup was spicy enough to get through to my taste buds last night, but the flavor of it was so much more pronounced today.  And by pronounced, I mean heat, garlic, and ginger, ginger, ginger, tingling your tongue and throat, and the scent swirling around you. As is usually the case, this soup vastly matured and improved overnight. Today, I ate a huge mug of it without the noodles, and I preferred it noodle-free.  I want to make it again so I can taste the subtleties of the fish sauce and scallions, but overall this soup was a satisfying and restorative meal.   

Thai Chicken Noodle Soup (very loosely adapted from Jamie Oliver)

6 cups reduced-sodium chicken stock
2 cups water
1 cup white wine (optional, or add an extra cup of water/stock)
5 garlic cloves, peeled
2-3 inch piece of fresh ginger, peeled and chopped into large chunks
1 jalapeno, sliced in half, some ribs and seeds removed
3 tablespoons fish sauce, divided
1 lb. boneless skinless chicken breast
2 carrots, peeled and sliced
4 scallions, chopped
1 teaspoon sugar
½ teaspoon Sriracha chili sauce (optional)
6 oz. rice stick noodles or to taste (this amount will give you generous portions for 4 bowls)
Fresh cilantro leaves
Lime wedges
Soy sauce or extra fish sauce to taste

-       In a large soup pot, add the broth, water, and wine (if using).  Turn the heat onto medium, and add the garlic cloves, ginger, jalapeno, and 2 tablespoons of fish sauce.  Once the mixture is simmering, add the chicken breasts.  Continue to simmer, stirring occasionally for 20-25 minutes, until chicken is cooked through.
-       Remove the chicken from the pot, and add the carrots, scallions, a tablespoon of fish sauce, sugar, and ½ teaspoon of Sriracha.
-       While carrots are cooking, thinly slice the chicken and soak rice noodles in hot water according to package directions.
-       When the broth is ready, place a portion of noodles and chicken in a bowl and add broth.  Top with a squeeze of lime and fresh cilantro leaves.  You may need a spoon and a fork for the noodles.  Add extra fish sauce or soy sauce, if desired.

Spinach-Artichoke Dip

‘Tis the season of holiday parties, and the catch phrase of “bring a dish to share.”  I think this is a great concept, as it allows people to get together more often, without putting the financial burden all on one person.  Although, I will admit that sometimes it can be inconvenient, and store-bought contributions are sometimes necessary.  Hummus seems to go over well.  However, I went to a party on Saturday night, and I was determined to bring something a little more personal.  In my experience, spinach-artichoke dip seems to be a universal crowd-pleaser.  There is a reason that it graces so many American restaurant menus: people love it. 
 
I had recently wolfed down some spinach-artichoke dip at my cousin’s house, and used the recipe she found as a base.  Honestly, it was perfect as it was.  She found the recipe on All Recipes, and there is a link for its unscathed version below.  But for some inexplicable reason, I cannot make a recipe as it is written.  I feel uncomfortable and jumpy unless I am altering measurements and adding unlisted ingredients.  It’s bizarre and obnoxious, but I am what I am. 

Below, you will find my altered recipe, beefed up with extra spinach (oxymoron!) and some additional cheese.  My recipe has more bulk to it, while the original is creamier.  It’s really simple to make.  The most difficult thing is thawing and draining the spinach.  I defrost it in the microwave, and than aggressively squeeze water out by the fistful (with clean hands).  No one likes soggy dip, and it’s a good way to work out frustrations. 

When the dip came out of the oven, it was so hot, that I couldn’t even taste it.  There may be some partygoers that are still suffering because of this.  Then I became distracted and didn’t eat much of it once it reached a suitable temperature.  But, at about 10 pm, a friend took a big bite, looked at me with utter conviction and said, “This. Is. So. Good.”  Enough said. 

Spinach-Artichoke Dip (adapted from All Recipes)

1 (8 ounce) package cream cheese, softened
¼ cup mayonnaise
¼ cup grated Parmesan cheese
1 cup grated Sharp white cheddar cheese, divided
1 clove garlic, peeled and minced
½ teaspoon onion powder
½ teaspoon dried basil
¼ teaspoon garlic salt
Salt and pepper to taste (I used about ¼ teaspoon salt and 25ish grinds of pepper)
1 (14 ounce) can artichoke hearts, drained and chopped
¾ cup frozen chopped spinach, thawed and drained

-       Preheat the oven to 350 (or tell your host to do so; I think anything around this temperature would do).
-       Thoroughly mix together all ingredients except ½ cup cheddar, spinach, and artichokes.
-       Gently mix in spinach and artichokes, and transfer to a small baking dish.  Top with remaining cheese.

-        Bake in the oven for about 25 minutes, or until the cheese is melted and the dip is hot and bubbling. (Unfortunately, I did not take a worthy picture of the finished product, but it was delicious!)  

Saturday, December 10, 2011

Ode to Grilled Cheese


My mom always says that the egg is nature’s perfect food. I do love eggs, but I think grilled cheese is a close rival. And I dare to say that grilled ham and cheese ranks even higher in my cheese-obsessed brain.  Perhaps you are scoffing at my suggestion. Perhaps you are wondering how I could make such a bold statement.  Perhaps you are asking, “where is bacon in this ridiculous discussion?”

Theses are valid points and questions, but I will maintain that for a true cheese lover, grilled ham and cheese is better than a grilled cheese with bacon. The ham adds a desirable salty, porky flavor; however, it is not as rich as bacon so you taste the flavor of the cheese more, and the tender texture of ham gives way to the oozy, melty texture of cheese.  If you are still appalled, you are probably more of a bacon lover than a cheese lover, in which case, the more power you.

Obviously, cheese wins with me over bacon.  And to satisfy and honor my deep-seeded love, I made the most beautiful grilled ham and cheese sandwich earlier this week.  It has been so cold here in Colorado, which is an excellent excuse for grilled cheese, not that I need one. (Oddly enough, I am now sitting outside writing this, drenched in so much sunshine that I don’t need a coat.)  I used rosemary sourdough bread, which can be found at Whole Foods, and it may actually be the best bread IN THE WORLD.  Seriously.  It is truly unbelievable: crunchy crust, chewy interior, and loaded with fresh rosemary.  It is a work of art, but I digress.
I then layered the bread with a symphony of three cheeses and ham.  First, I put down two paper-thin slices of Muenster, followed by one thicker slice of Swiss cheese.  I then added two thin (not shaved) slices of lightly smoked ham, folded and lightly bunched where necessary to fit the bread.  Last, I added a thick layer of shredded smoked Gouda, which really took the sandwich to a higher level.  I just happened to have these cheeses in my fridge.  It was a winning combination, but any cheese that melts well is a winner on a grilled cheese sandwich.  With a light, even layer of butter on the bread, I cooked the sandwich in a non-stick skillet, low and slow.  My friend, Lindsay, from college makes masterful grilled cheese sandwiches and that's how she’s always told me to do it.  I would spend half an hour patiently grilling a sandwich that ends with oozing cheese and golden bread, than burn my potentially perfect dinner.  I also 'splurged' on a can of Amy's tomato soup.  I will admit that it seems insane to spend nearly 4 dollars on a can of soup, but in this situation, you get what you pay for.


Sunday, December 4, 2011

Pan-Fried Tilapia


I’ll be honest:  I overcooked my fish.  I am advertising my own error because it didn’t matter.  My pan-fried tilapia was light, flakey, with a crisp coating, despite spending a little too much time in the frying pan.  It is a foolproof recipe, and this is coming from a fool who messed it up.

My mom tends to work really late, but one night last week she got home early enough to make this simple dinner, and I decided to do the same.  I am now making a point to use and enjoy my time outside of work, which makes me happier both at work and at home.  The key to enjoying your evenings is to actually do something you enjoy.  Who knew?  Thus, pan-fried tilapia made its way on to my after-work to do list. 

Tilapia has many attractive features that make it perfect for a quick, yet luxurious weeknight meal.  It cooks quickly; it’s versatile with its mild flavor and flaky texture; it’s inexpensive (I spend about four dollars on the fish and still had leftovers).

The process is not unfamiliar: dip the fish into egg wash, give it a dusting of flour and/or breadcrumbs, and cook it in a thin, even layer of hot oil.  My mom was adamant about purchasing “Drake’s Crispy Fry” to dredge the fish in (it was always in our pantry growing up).  I made a special trip to King Sooper’s for it in 15-degree weather, and they didn’t have it.  In my dismay, exhaustion, and defeat, I bought a package of seasoned flour, although I was sure I would regret it (Kentucky Kernel Seasoned Flour, to be exact). 

Why would I buy seasoned flour instead of simply seasoning my own flour?  I was prepared to kick myself later, but I couldn’t have been more wrong.  It turns out that there is a reason to buy seasoned flour: it is perfectly seasoned!  I tasted a little pinch of the flour before cooking, so I could get my self-loathing under way, but instead I was celebrating my awesome decision making skills. It was delicious (courtesy of pepper, mysterious “herbs and spices,” salt, and a small amount of MSG, which everyone knows is the best).

So, with a sense of celebration, I dredged, I fried, I spritzed with lemon and I enjoyed.  The fish had a crisp, yet light crust.  I served the fish (to myself) with simple pan roasted brussel sprouts, and a baked potato.  I felt so wholesome with all of my food groups.  Make sure you run your kitchen fan and vent a window while you fry the fish.  That way, when you tell your co-workers the next day about your delicious dinner, they will actually be surprised, instead of already being fully aware of what you had for dinner because of the fish odor emanating off you.  I had this happen with curry once, and it was not much fun.

Pan-Fried Tilapia

Tilapia fillets, rinsed and patted dry (I made 3 fillets, almost 3/4 of a pound)
½ to 1 cup of seasoned flour (depending on how much fish you are making)
2 eggs
2 tablespoons milk
2-3 tablespoons olive oil (more as needed if you are working in multiple batches)
2-3 tablespoons canola oil (more as needed if you are working in multiple batches)

-       Beat together eggs and milk in a wide shallow bowl, and add the seasoned breadcrumbs to another wide shallow bowl.
-       Working with one tilapia fillet at a time, dip it first in egg wash, then into the seasoned flow.  Coat it evenly with flow and shake of excess.  Set aside and repeat with remaining fillets.
-       Using a large heavy bottomed skillet, preheat both oils over medium-high to high heat for 2-3 minutes.  You can test the heat of the oil by dropping a pinch of flour into the oil.  It should sizzle immediately.
-       Place the fish fillets in the hot oil (do not crowd them).  Cook for 4-5 minutes per side on medium-high to high heat (depending on how hot your stove cooks; you want the fish to brown).
pre-flip
post-flip

-       Drain cooked fish on paper towel.  Spritz with lemon and enjoy.